MOMMY AND TODDLER VALENTINE PARTY

One of our favorites: Mommy and Toddler Valentine Party! Here are the details on our design -- filled with pink, hearts, flowers and balloons -- and photos by One Eleven Photography.

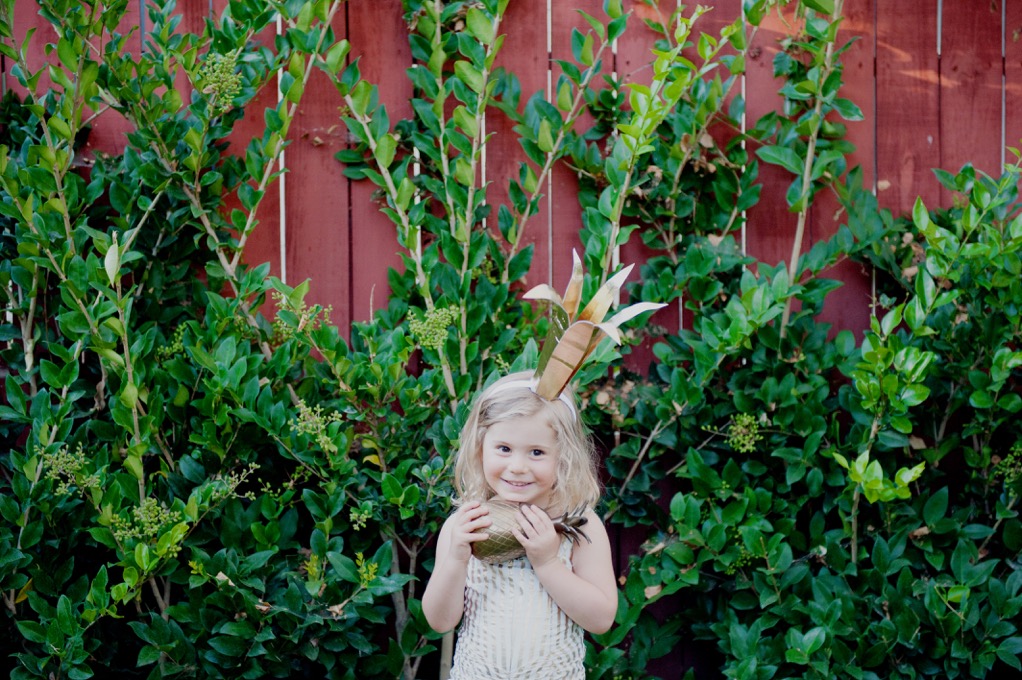
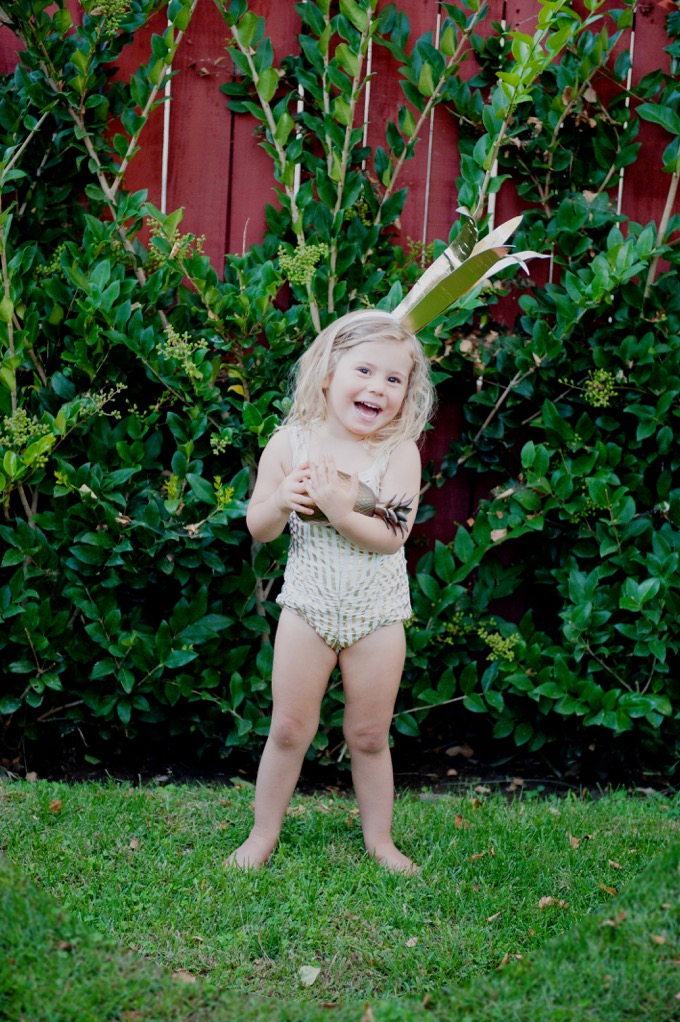
Lets take a moment for Mila's outfit before we get to the party details. She's wearing a Wovenplay gold sunsuit, Tutu Du Monde cape via Shop Belle and headband via Thumbeline.

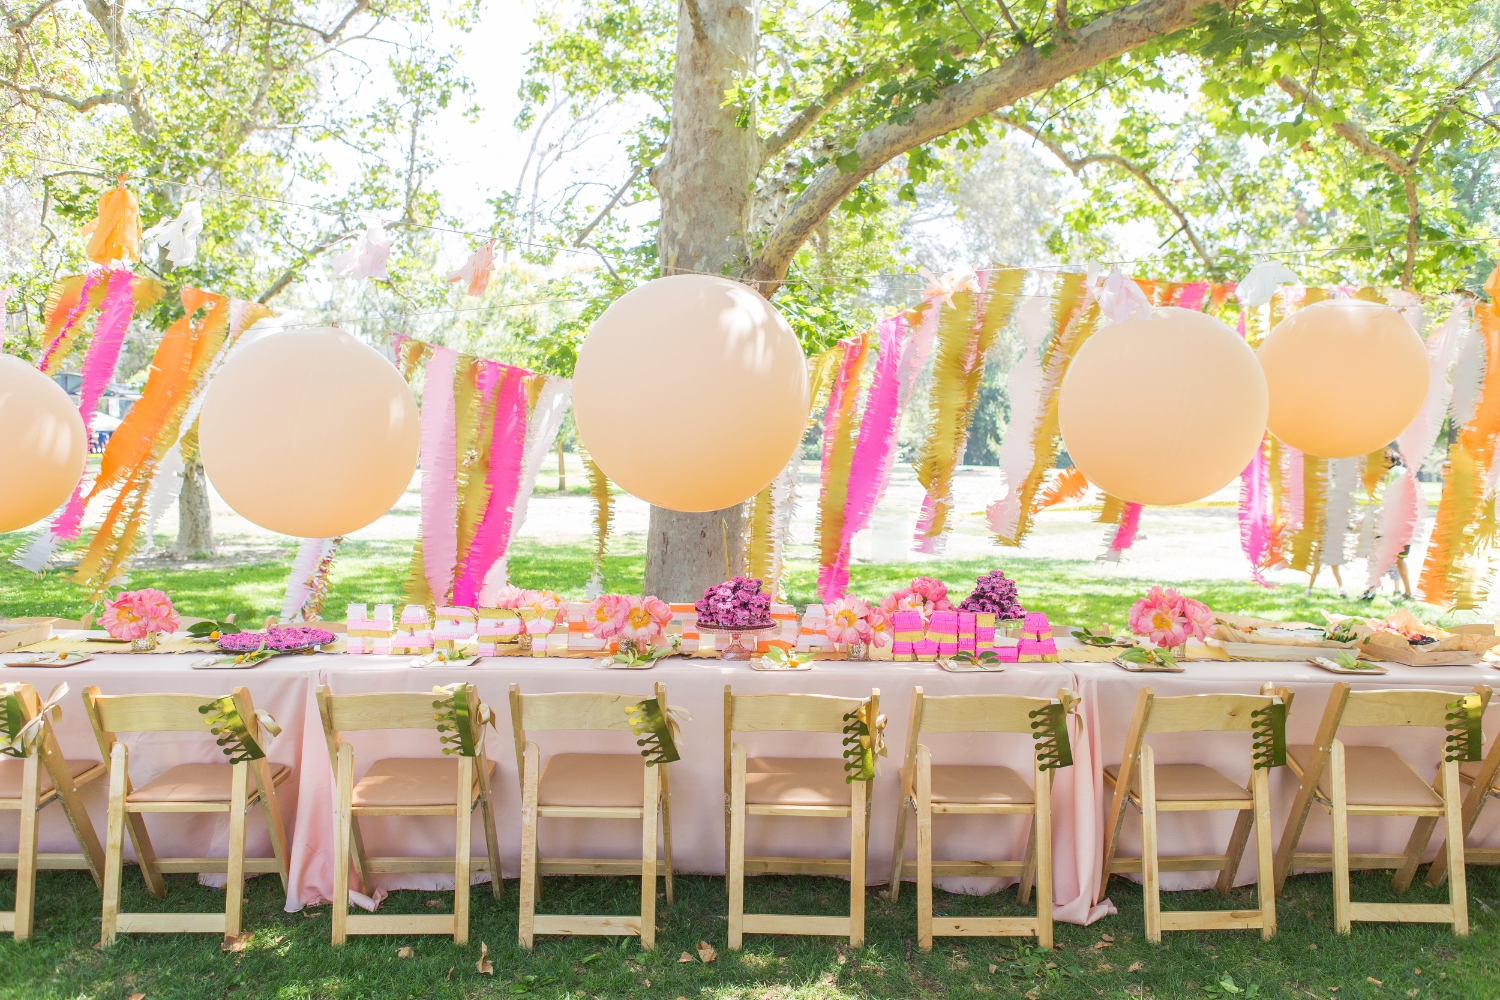
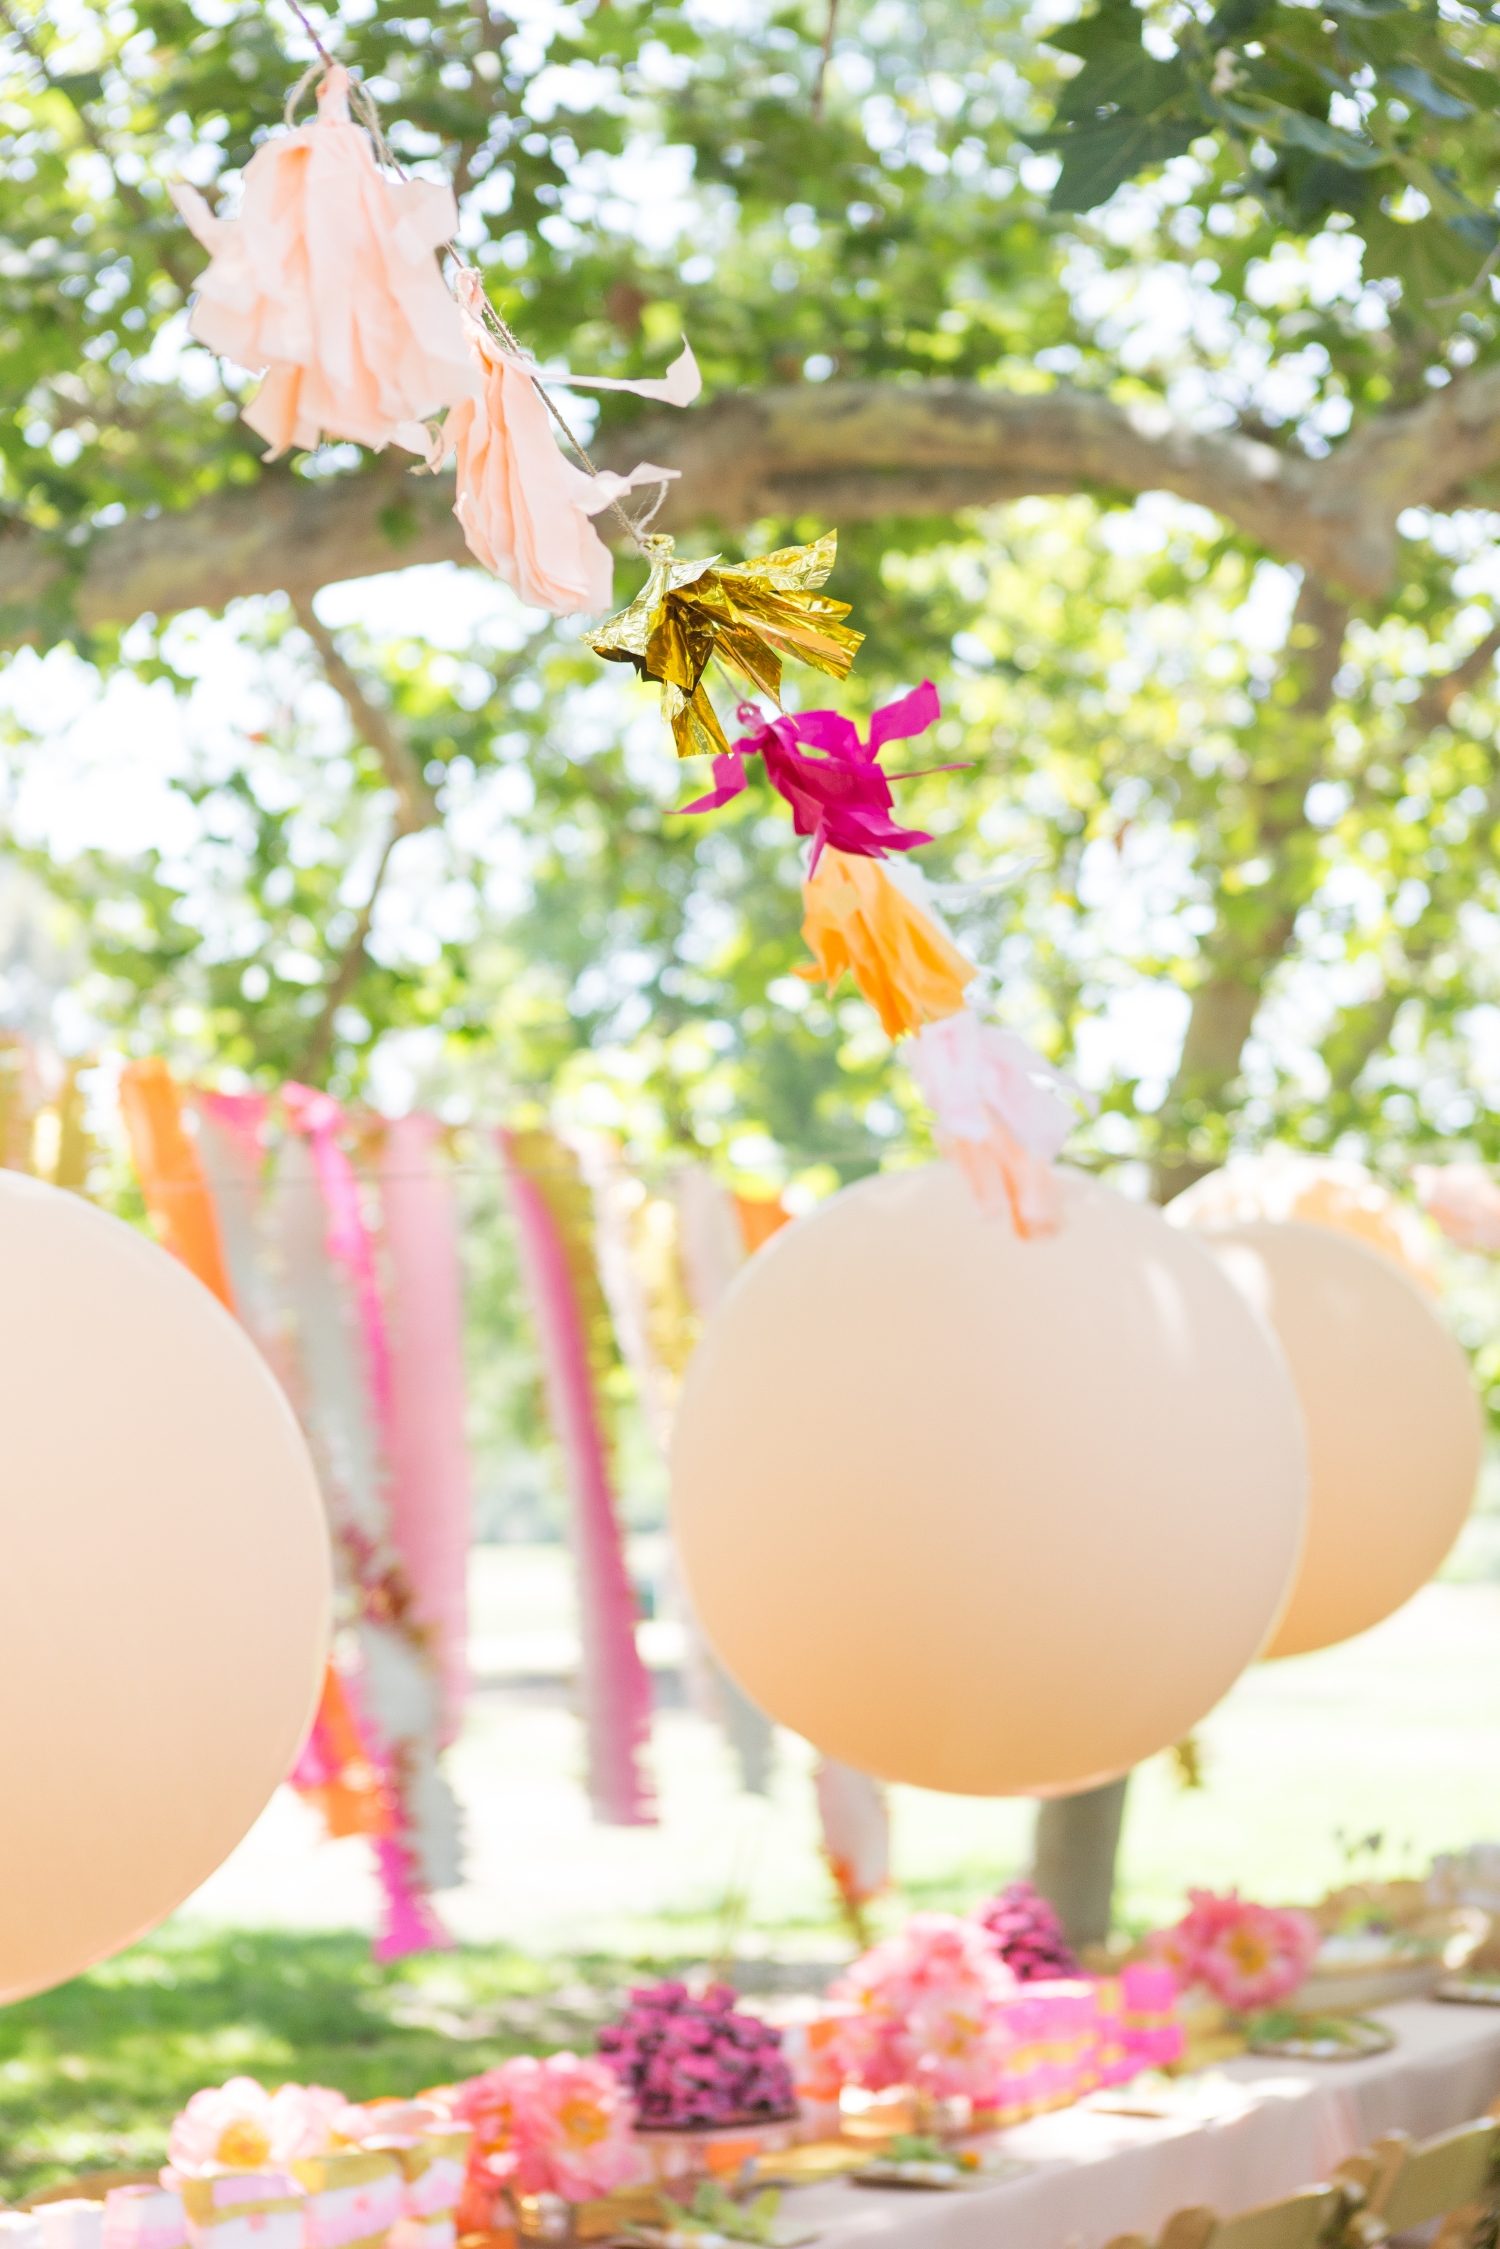
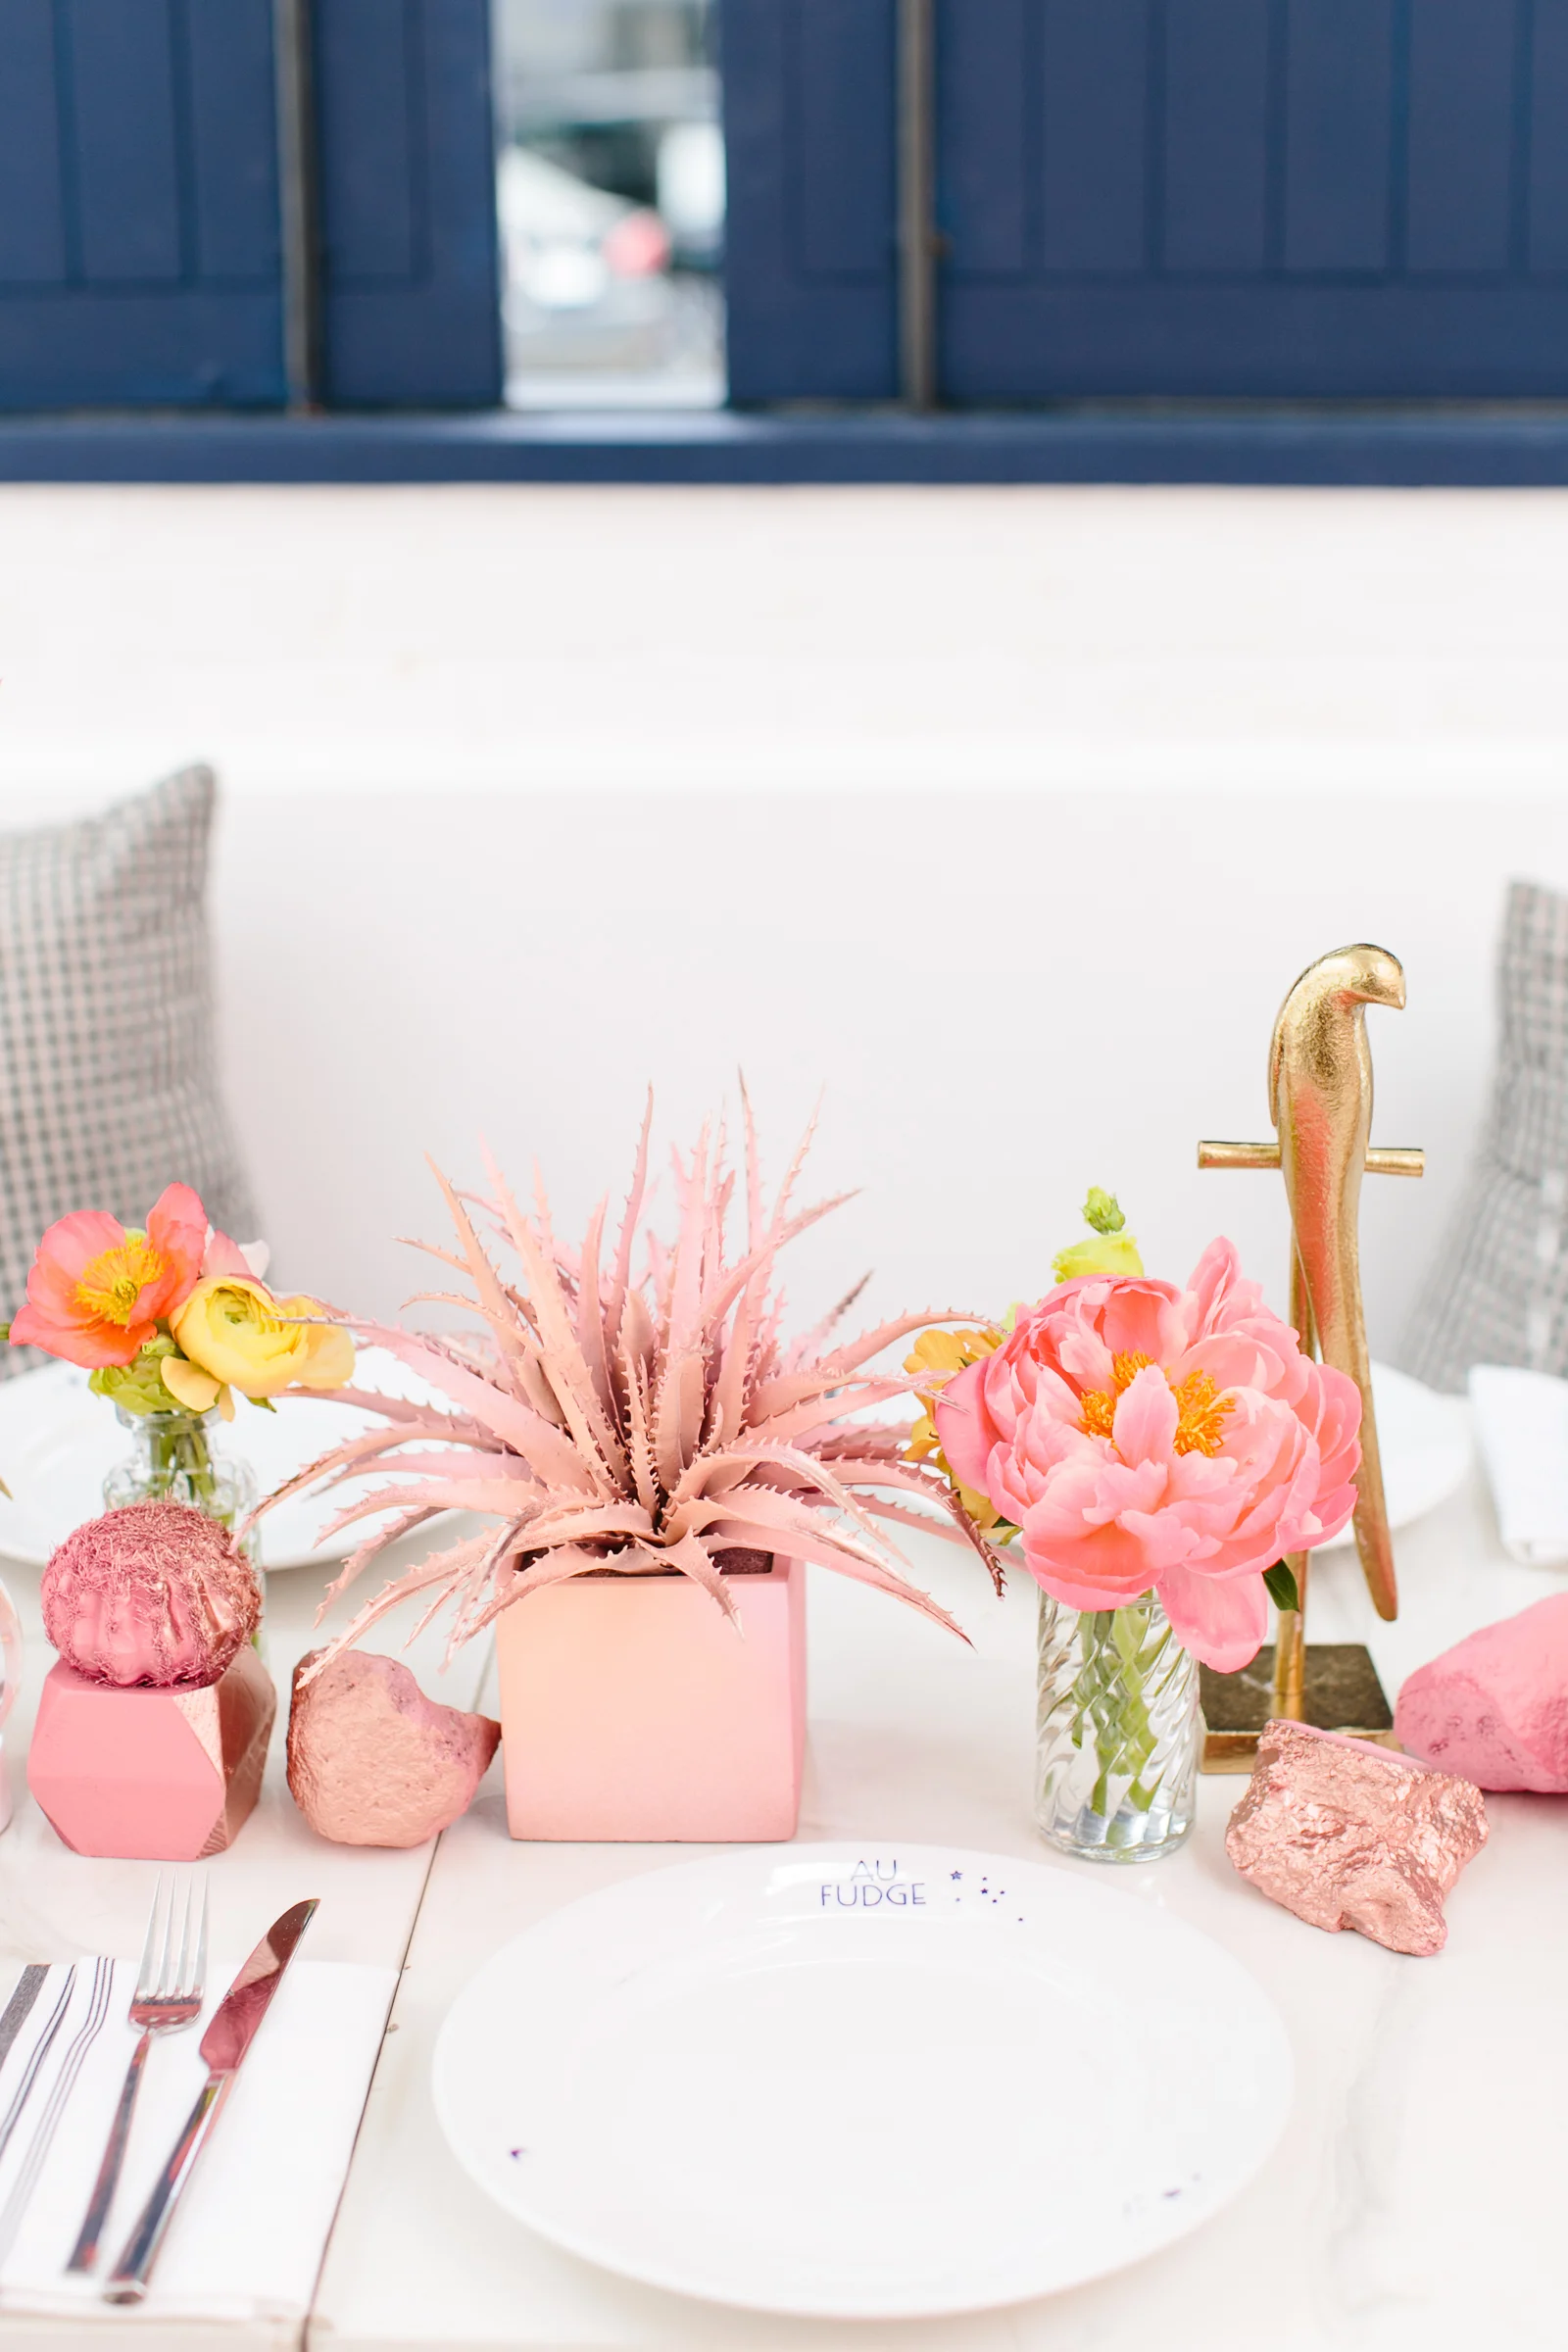
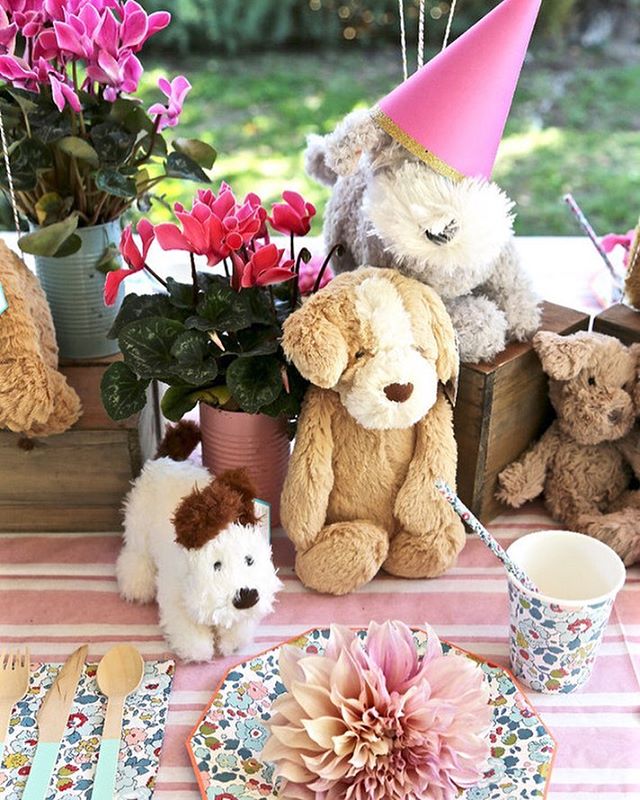
The neon pink “KISS” party favor bags by Meri Meri via Paper Source sent me into a tizzy, so I incorporated them into the tablescape to hold the “VALNTN” balloons from Shop Sweet Lulu.

You may recognize the “HAPPY” piñata letters from Mila's 2nd Birthday Party.  I DIYed them from an Oh Happy Day! tutorial.  

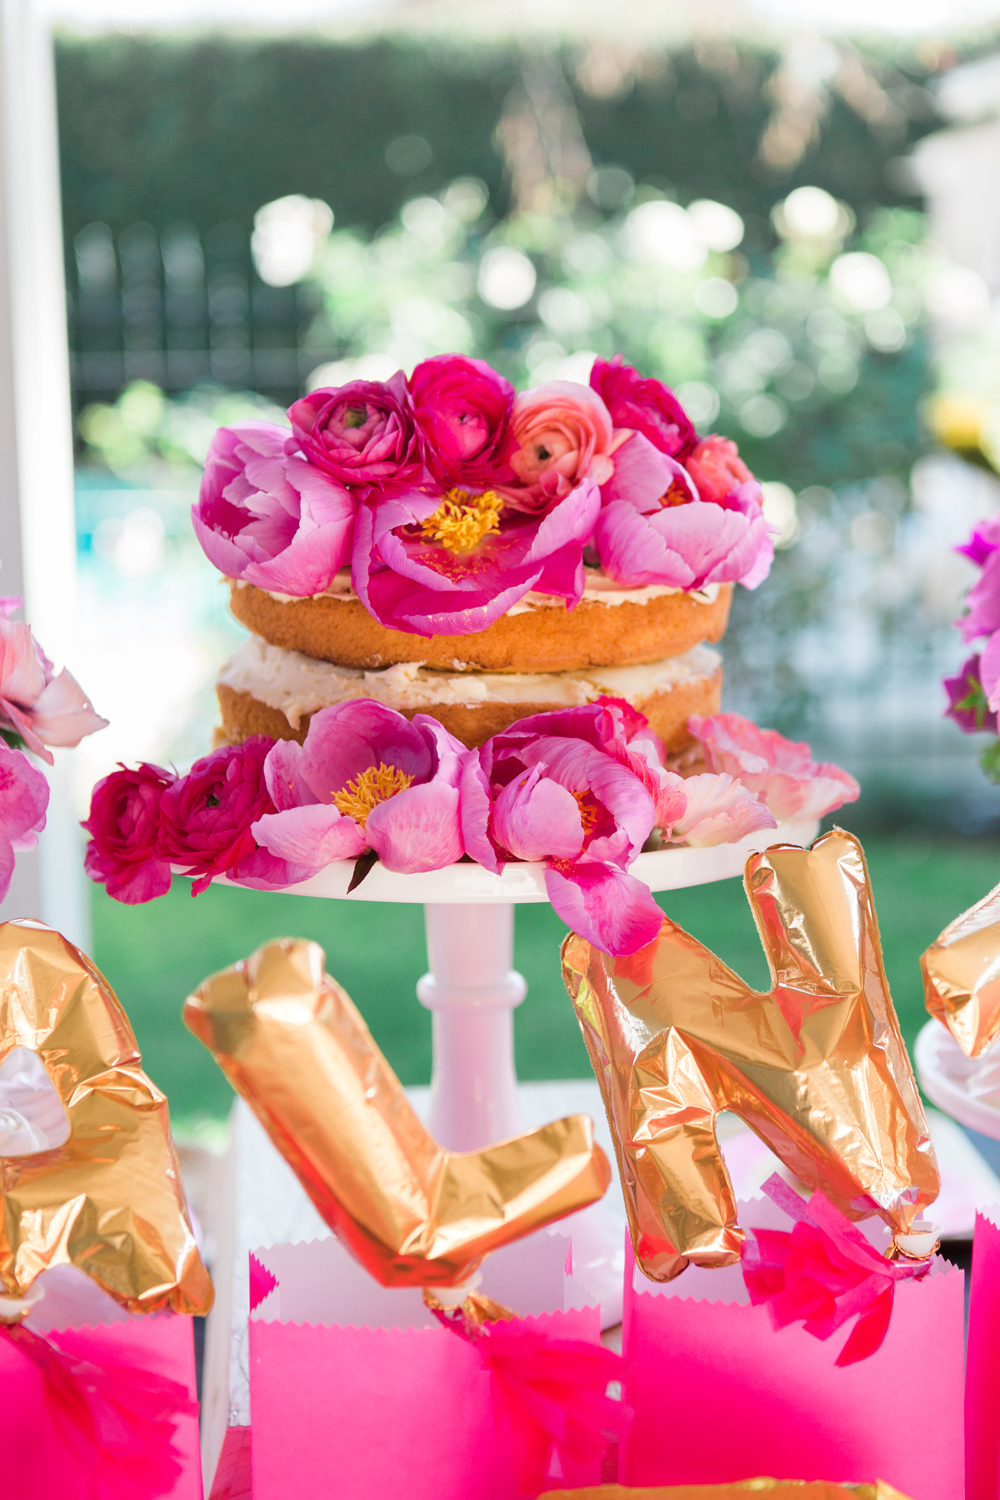
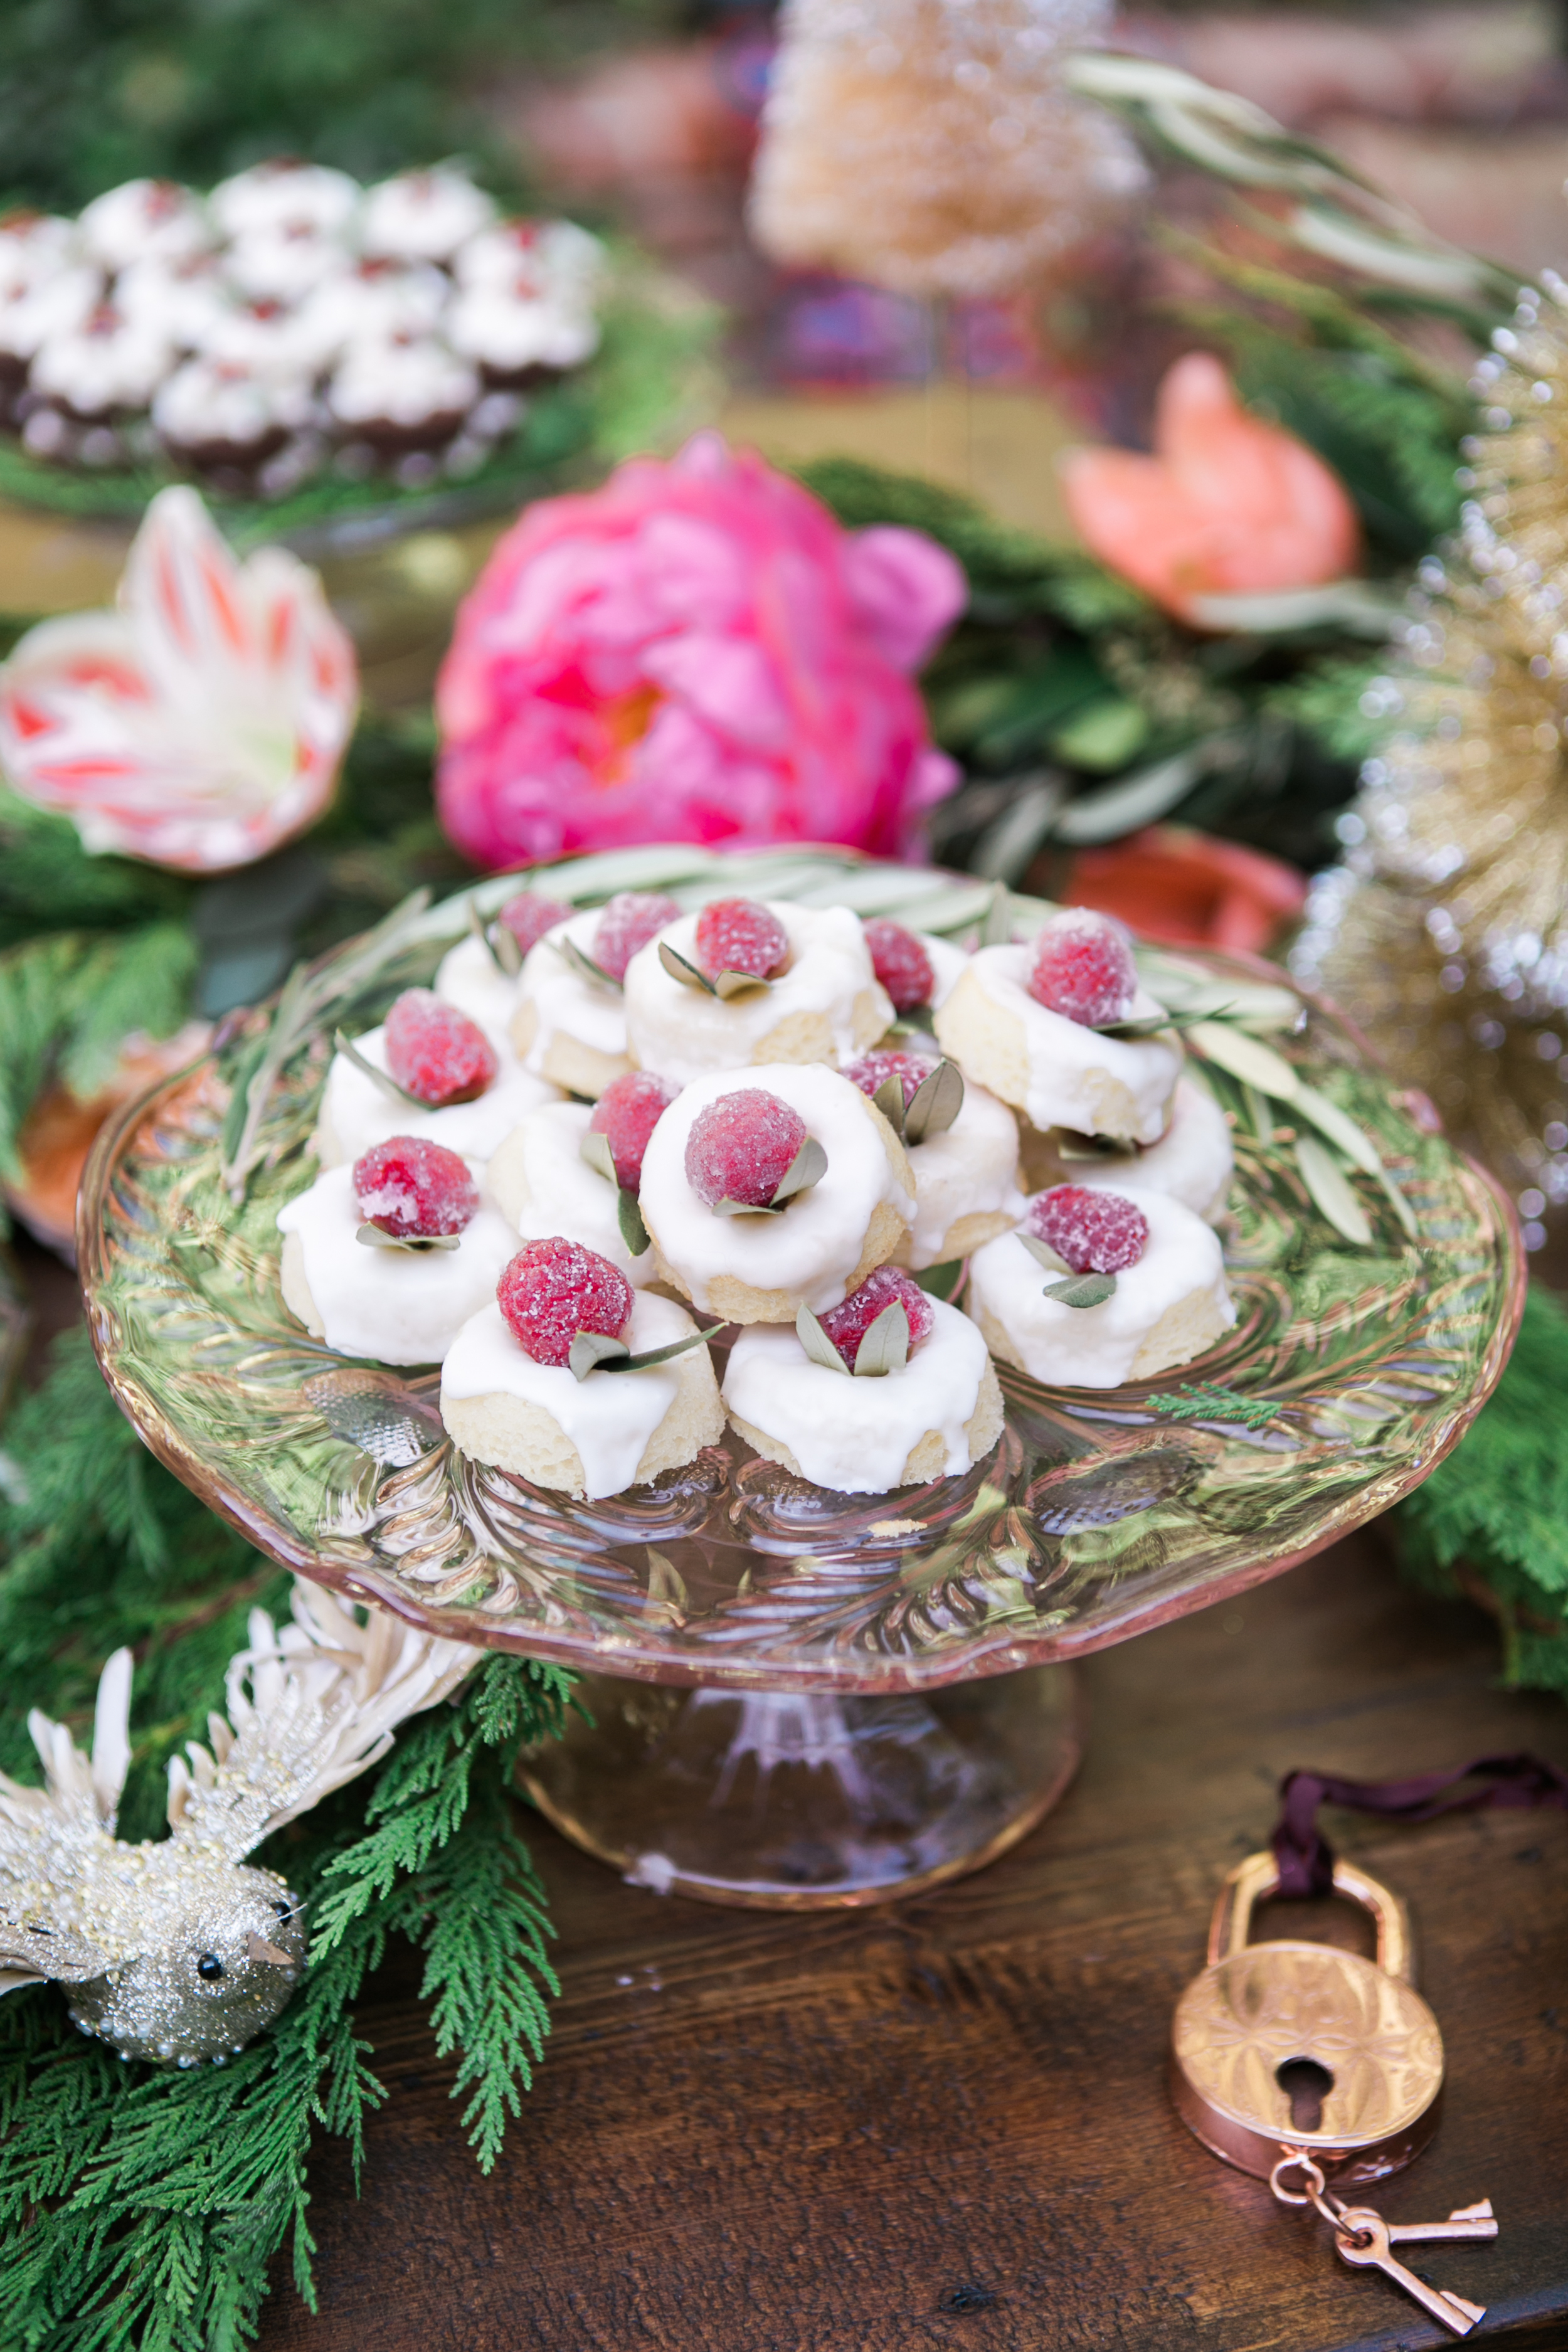
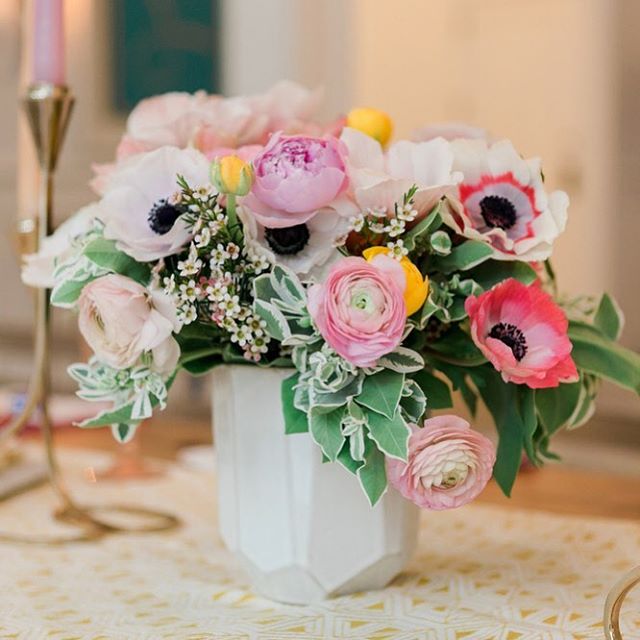
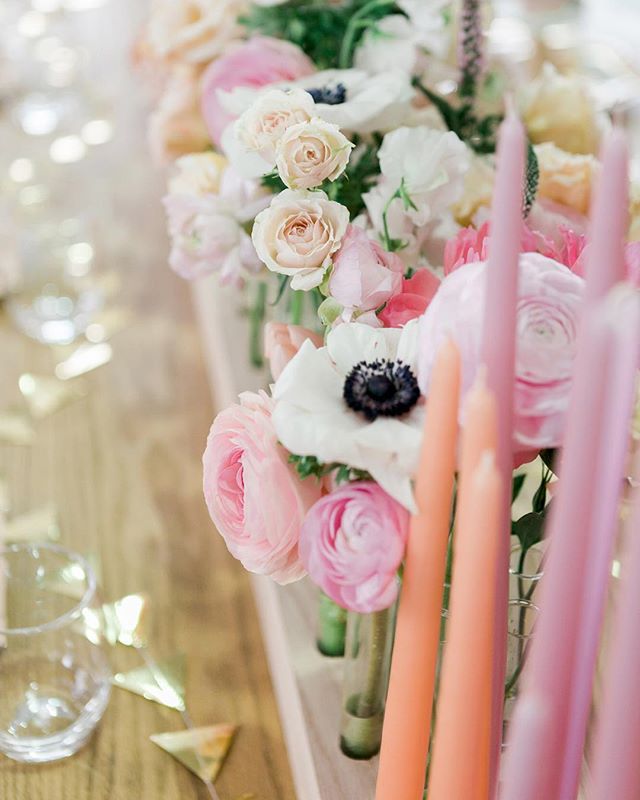
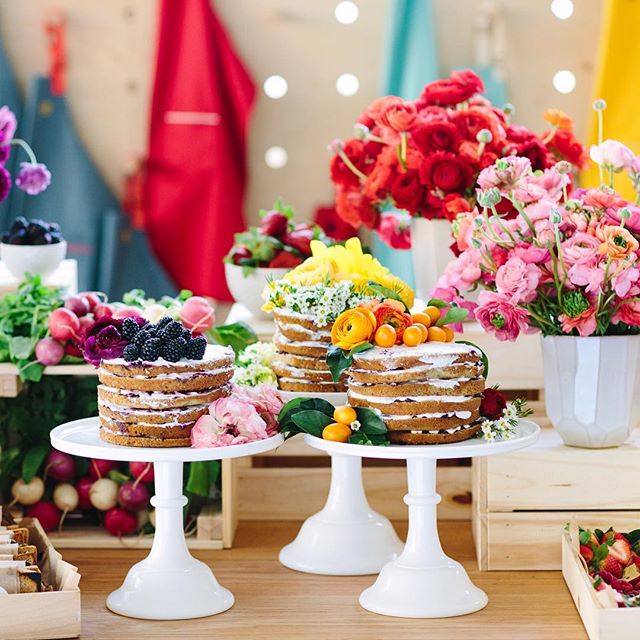
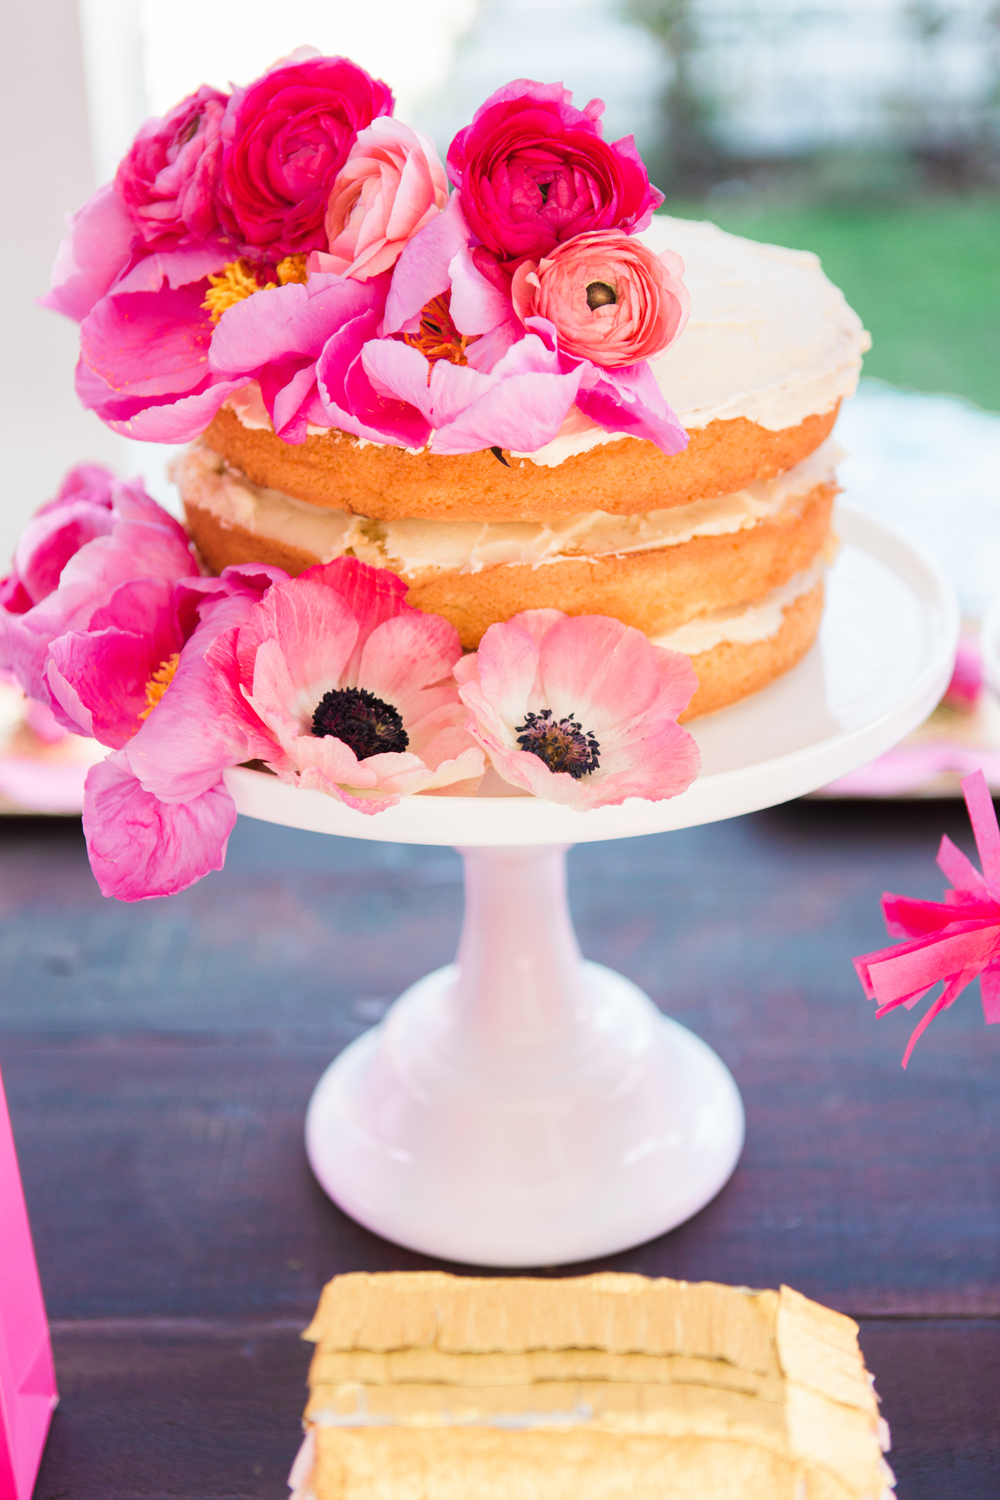
Twink saved hundreds of dollars on our party budget by making the three layer naked cake herself.  It’s a Pamela’s Vanilla Gluten-Free Cake Mix.  And then I decorated it with peonies, anemones and ranunculus in pink, coral and magenta.

Heirloom LA did gluten-free pizzas with a choice of cured meats or vegetables.  They also did a delicious crudité platter with homemade ranch and spinach dip.  

"I love you more than pizza."

Twink made the fresh fruit tray with organic, seasonal finds from a local farmer’s market and melons from Whole Foods.  

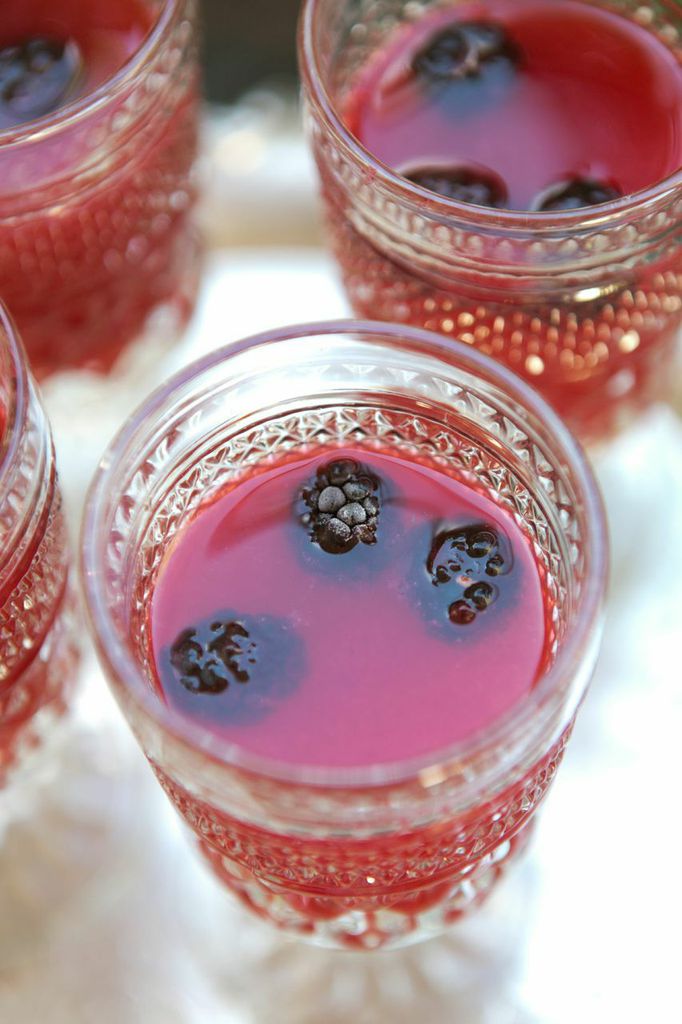
Twink made organic strawberry water and raspberry lemonade from scratch.

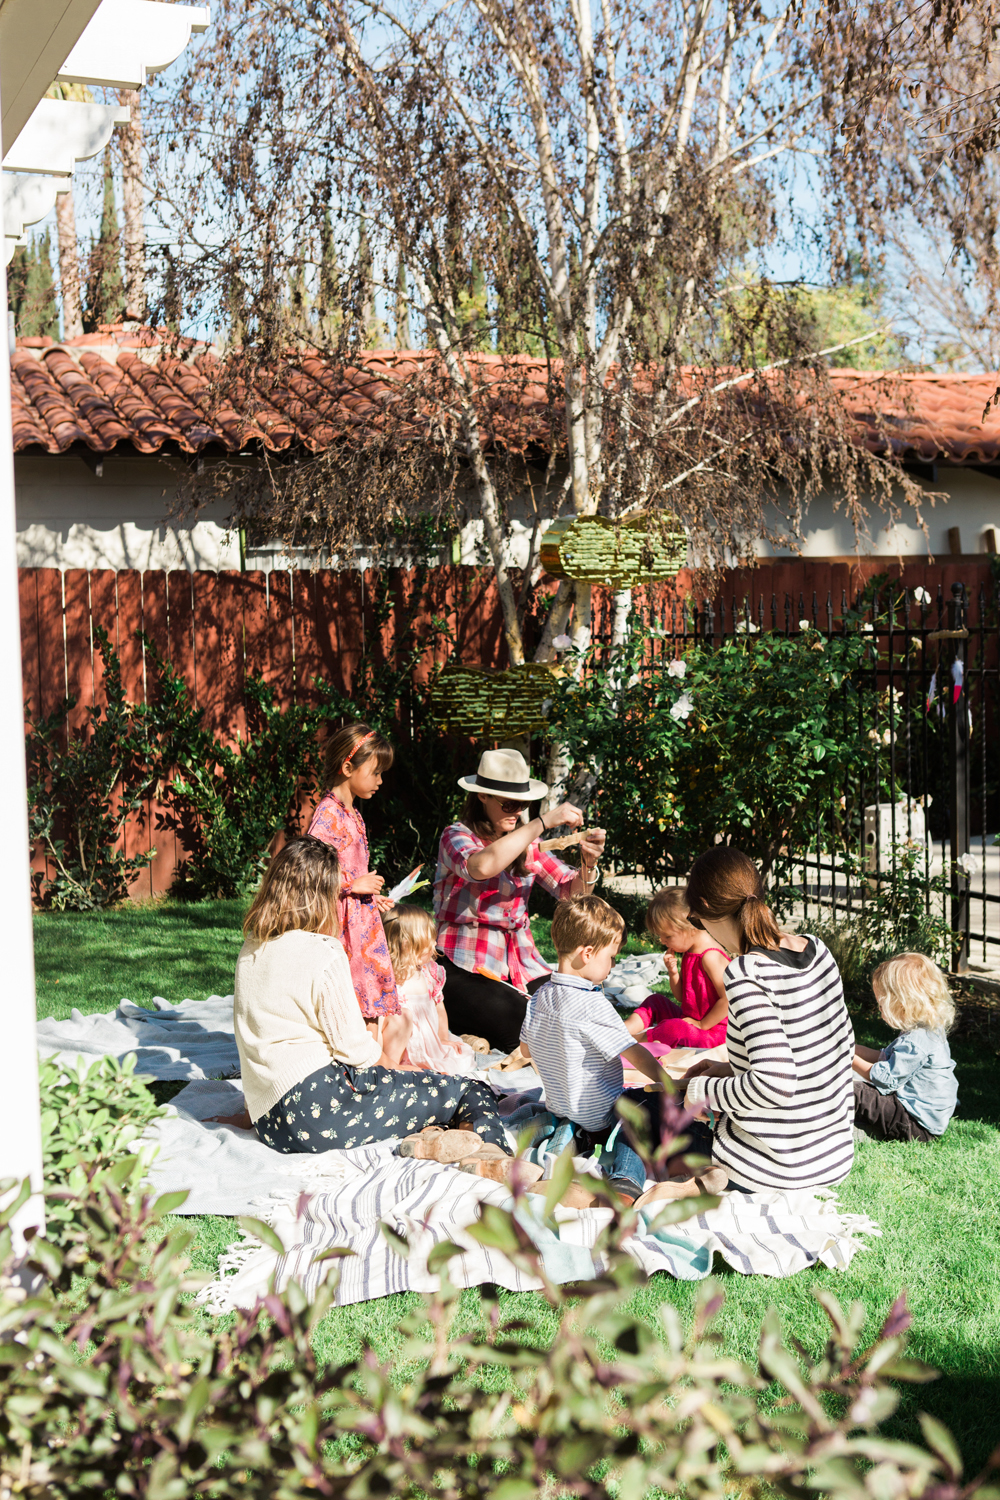
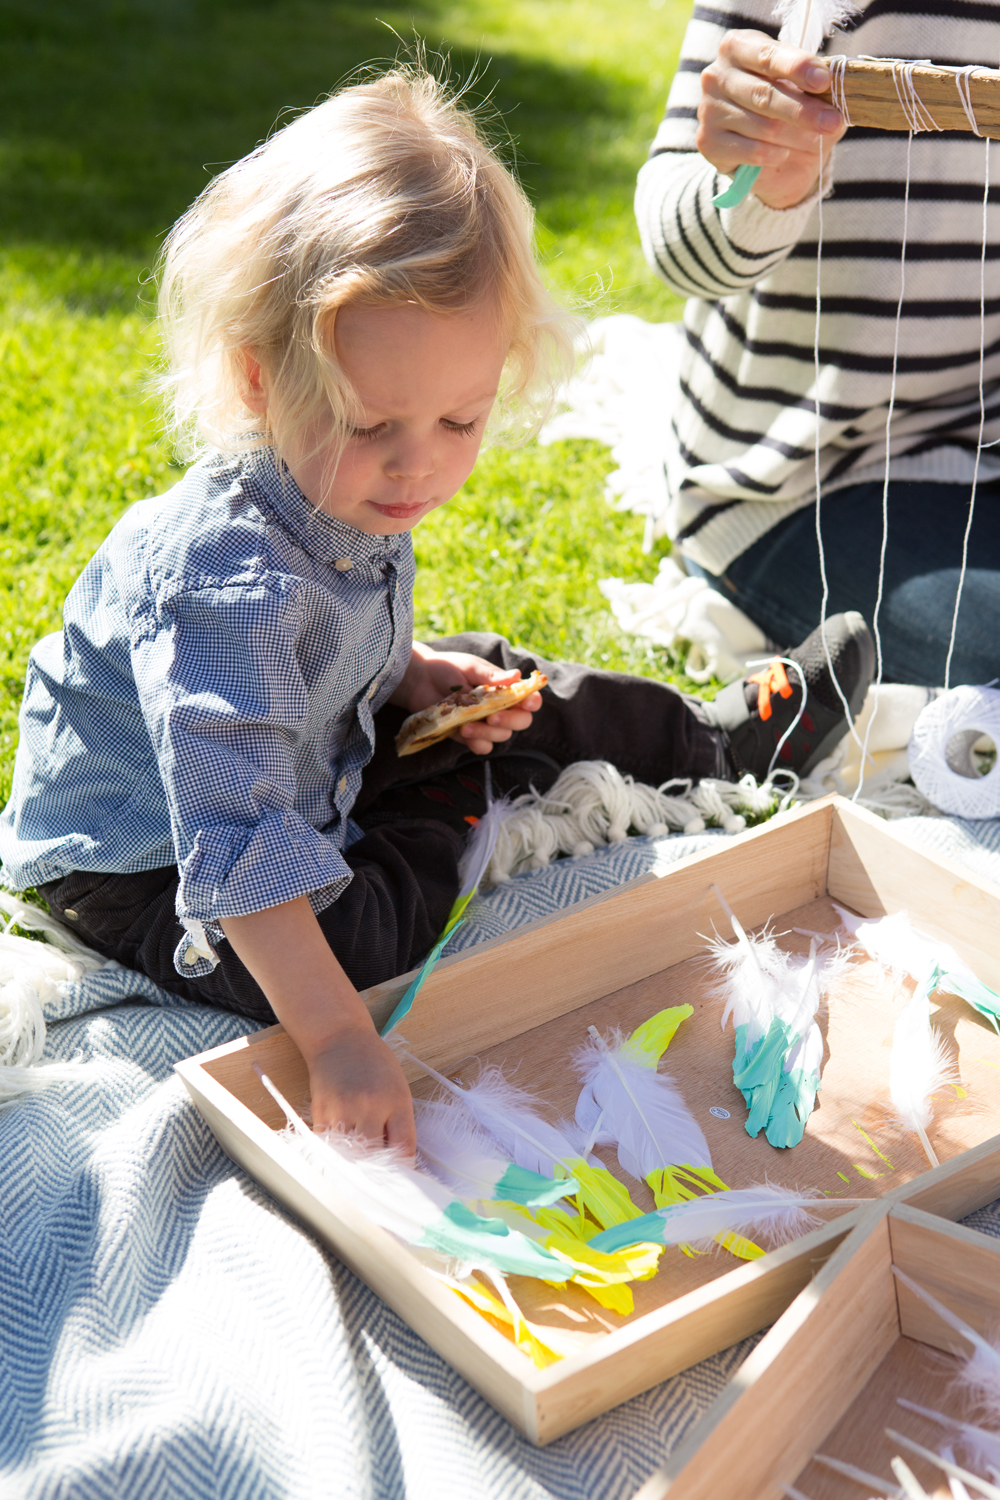
For the crafting station, I wanted something that wouldn’t intimidate non-crafters, so I opted for a simple feather mobile.  I pre-painted the feathers in six different colors for guests to choose from, supplied driftwood, thread and twine, and voila!, moms and kids crafting together!

Twink and Brixton even got in on the balloon pit fun.  And by the way, the gold balloon pit is just a cheap drugstore kiddie pool covered in gold duct tape.

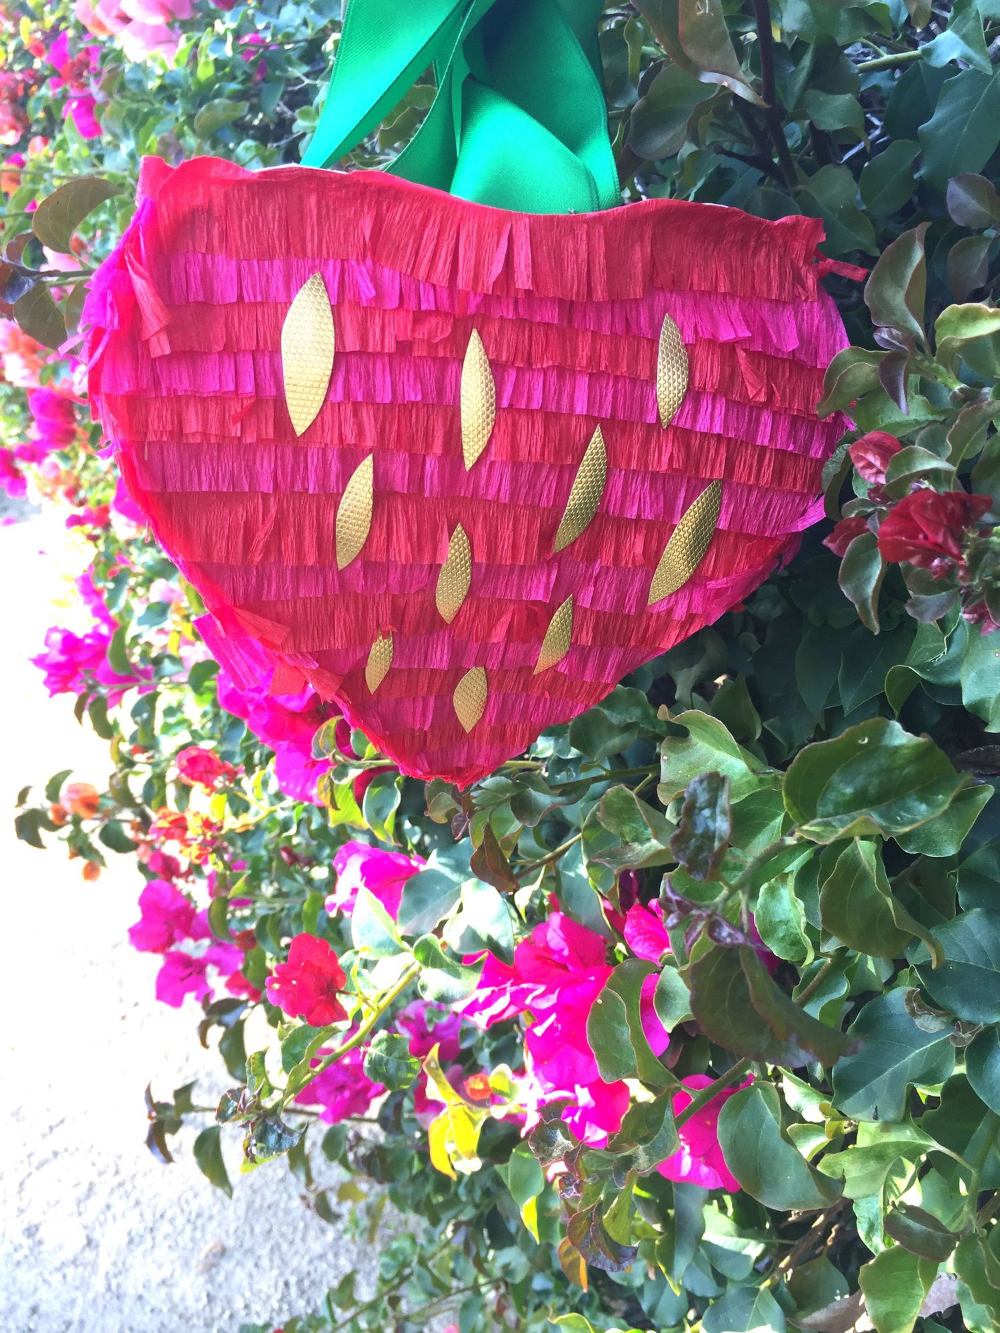
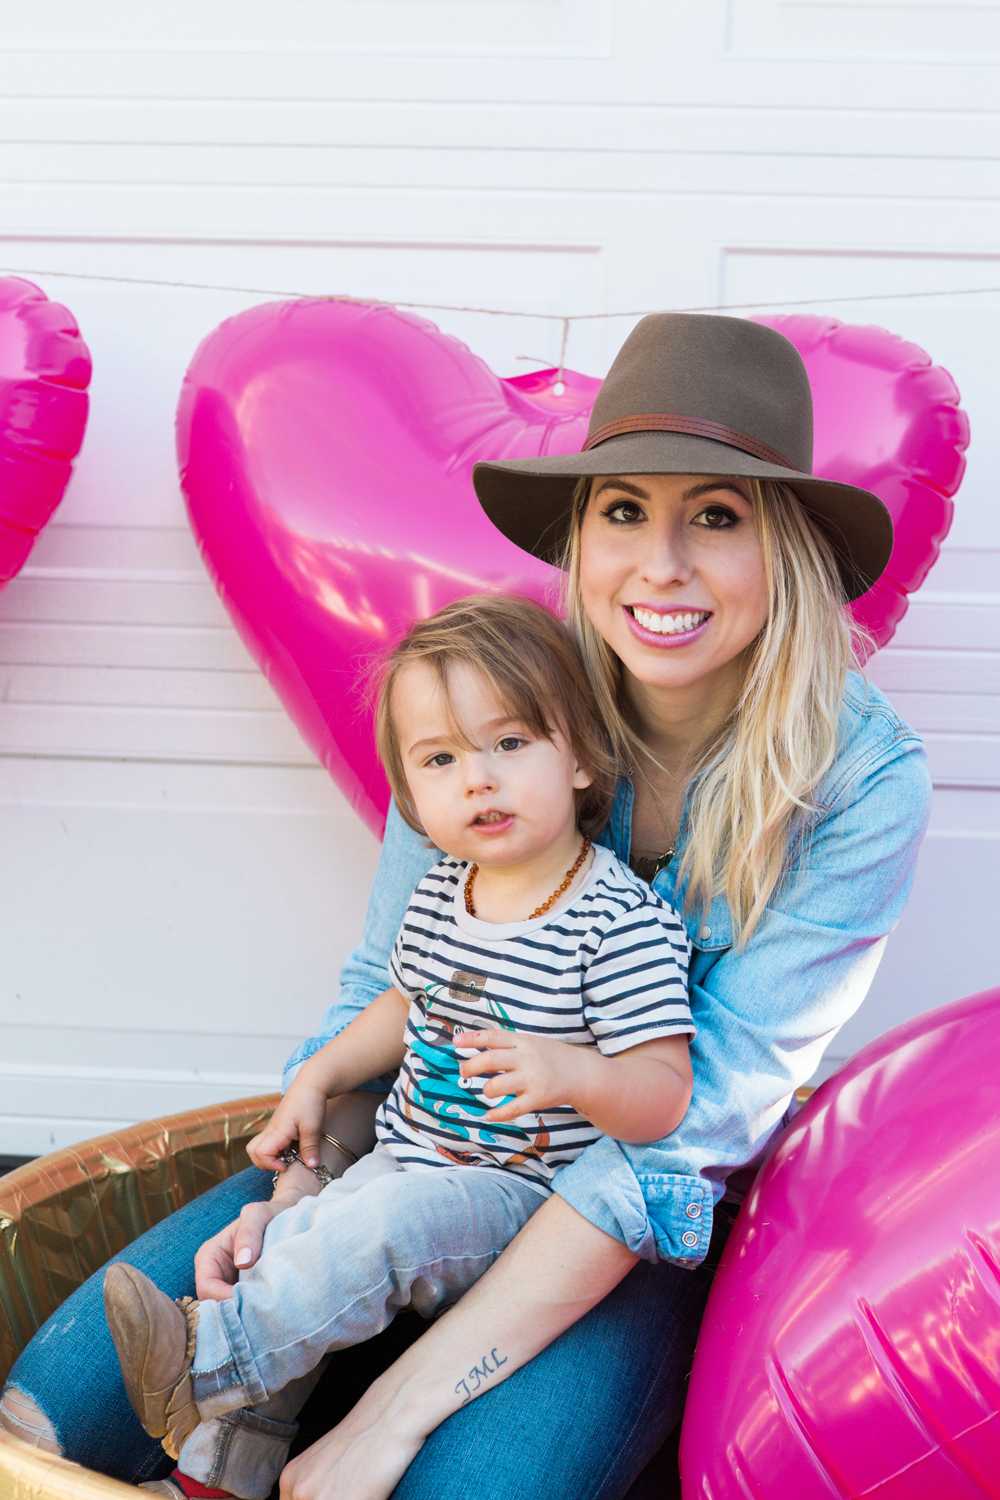
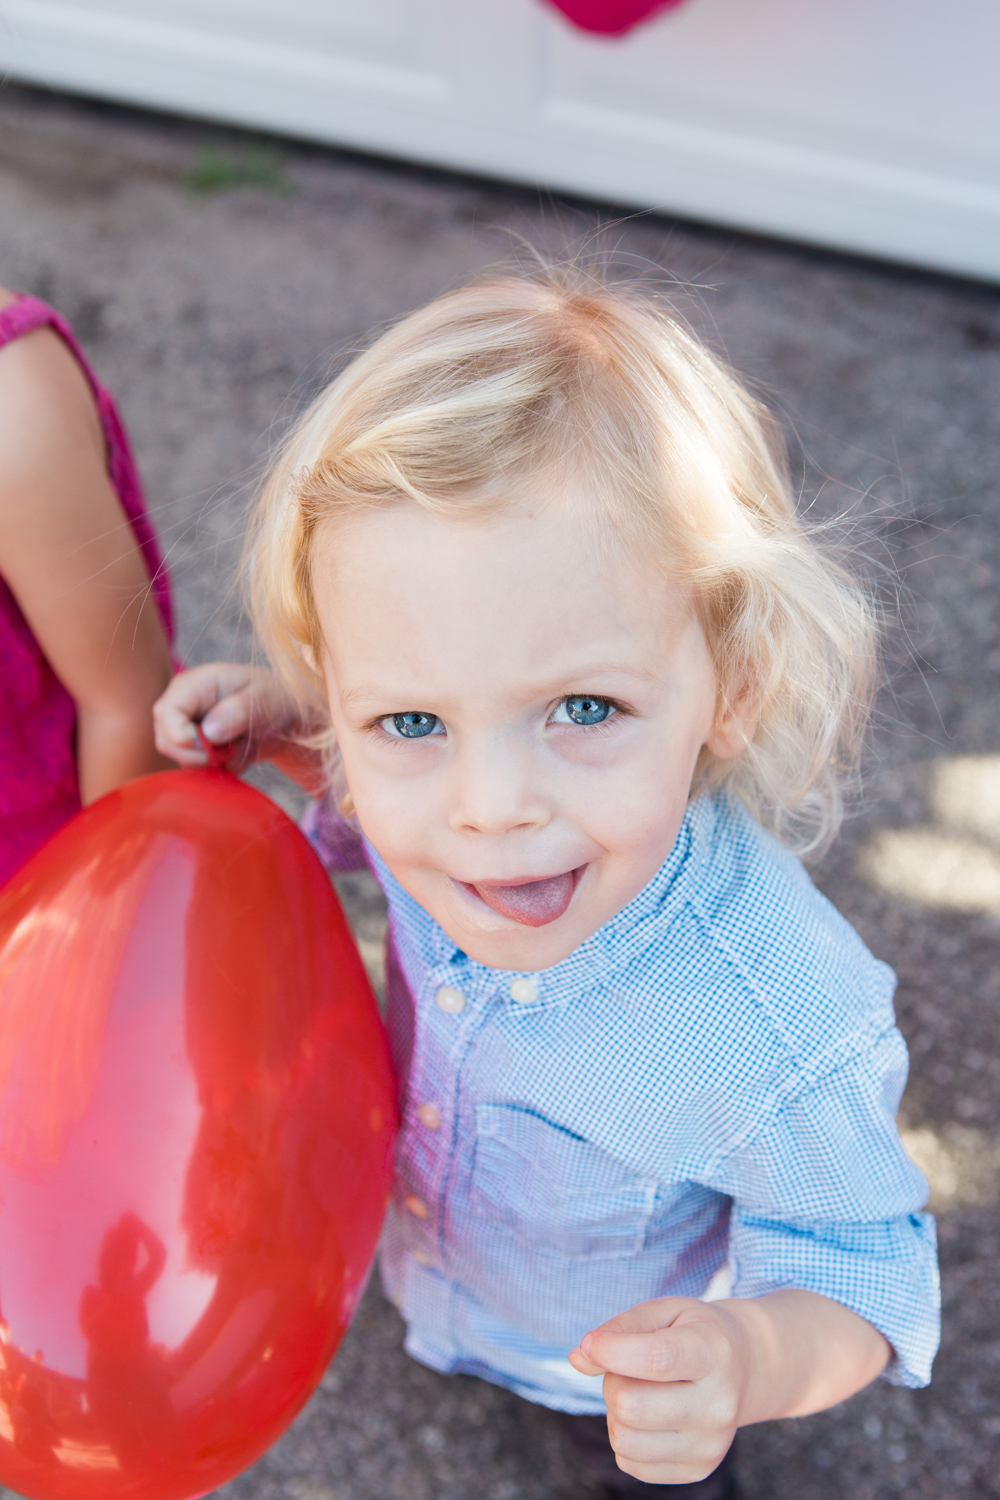
The giant inflatable hearts and party favors are from Oriental Trading

You can also see more fun stuff on Style Me Pretty Living.  

Happy Valentine's Day!!!  XOXO

MILA'S PEONY PICNIC BIRTHDAY PARTY

It's Mila's birthday week! So I'm reminiscing and looking back. Here's a peek at her 2nd birthday. You may remember it from 100 Layer Cakelet (and as one of their favorite kids birthday parties of 2014). Hopefully, I've included a few here you haven't seen before.

All photos by Jenna Elliott of One Eleven Photography.

I had planned an elaborate balloon overhang, à la Geronimo Balloons, but my helium resource fell through. So I went to plan b by criss-crossing twine amongst the trees and hanging the balloons from there.

mila-bday-023.jpg
mila-bday-021.jpg

These were literally the last batch of coral peonies for the season.

I love this gold twine for the cutlery so much. I hope I can figure out something as good for Mila and Brixton's birthday party this weekend!

All resources listed here.

STRAWBERRY PINATA BASKET DIY

I mean, really, when you think about it, who doesn't need a strawberry piñata basket in their lives? It's perfect for a trip to the farmers' market, picking strawberries from the field or just accessorizing your Valentine outfit. So here's the DIY!

You'll need: heart template (we used a heart instead of a strawberry template for a less literal look), three sheets of cover weight paper, scissors, fringe scissors (or you can cut the fringe with regular scissors), glue, green satin ribbon, shiny gold paper (or gold glitter paper), red and hot pink crepe paper. 

To start, print heart template and cut it out.

Trace heart on each of your three pieces of card stock and cut them out. 

Place heart bottoms together, laying flat and tape.

Bring the first heart over to the third heart so you form a 3D heart/cone shape and then tape those edges.

Continue to tape each of the three seams up to the top of what is now the base of your heart basket.

Cut three lengths of green ribbon, appx. 12 inches each.

Tape one end of the first ribbon to one inner heart center.

Tape the other end of the first ribbon to the second heart center.

Repeat with second and third ribbons.

Cut a length of crepe paper.

Stretch it out by laying it on the table, placing your hands on each end and pulling.

Fold it in half lengthwise.

Cut fringe for the length of the crepe paper, leaving about 1/3 uncut at the top.

Draw a line of glue at the bottom of the heart.

Cut fringe to appropriate width.

Glue fringe.

Repeat all the way up to the top of the heart, alternating between red and hot pink.

Repeat on side two and three.

Let dry.

Cut appx. 30 free-hand "seeds" from your gold paper. Glue about 10 onto each of the three sides.

FEATHER MOBILE DIY

You may have seen our Mommy + Toddler Valentine Party on Style Me Pretty Living earlier this month.  The guests made a feather mobile at our crafting station.  We wanted to take you through the steps here so you can have a fun DIY to do at home!

Here's what you'll need: five feathers, up to five colors of paint, paintbrush, string, natural jute cord, scissors, driftwood branches, paper (to paint feathers on, and then lay feathers out to dry on).

Paint the top third of the feather, on both sides.  Lay out to dry.  Repeat twice (three coats total).

Take a length of string and wrap one side of it twenty times around the bottom section of feather.  Knot it.  Take the other side of the string and wrap it around the center of the driftwood branch ten times.  Knot that end as well.  Repeat with the four other feathers -- two to the left and two to the right -- varying the string length on each.  Be sure to leave room at both ends of the driftwood branch.

Take a length of jute cord and wrap it a few times around the far left side of the driftwood.  Knot it.  Take the other side of the jute and measure it to a length you'd like to hang the finished mobile by.  Wrap the cord around the far right side of the branch a few times.  Knot it.  You're done! 

GOLDEN PINEAPPLE COSTUME

I'm obsessed with Studio DIY and her genius Halloween costumes. She's had some amazing ones this year -- my favorites include kiwimilkshakescactus, popcorn and today's gumball machine.  

My first attempt at a Studio DIY costume for Mila was last year in the form of a pineapple. I followed the Pineapple Costume DIY and paired the green topper with a dress from American Apparel. I love that this costume can just go with anything yellow in the closet!

A year later and I'm still so in love with this pineapple costume situation! So I went for a gold version, using shiny gold card stock and a white plastic headband from Michaels. [A few notes: I glued the leaves together so they were gold on both sides. The shiny side of the paper wouldn't hold the glue/more leaves. Studio DIY calls for about 20 and I was only able to do about 5 so you're certainly getting a different look going this route.] Mila is wearing a Wovenplay suit and holding a brass pineapple from Borrowed BLU

P.S. Wanted to share this sweet photo of the kids taking a break at our Halloween table. Here's the "Sophisticated Halloween Dinner Party For People Who Hate Orange" on ELLE DECOR.